Learn how to Change Apple ID Country or region safely in 2025 without losing apps or subscriptions. Complete step-by-step guide + bonus VPN trick.
How to Change Apple ID Country or Region
Changing your Apple ID country or region can feel like jumping off a cliff — what if your apps disappear… your subscriptions break… or Apple blocks your payment?
Don’t stress. I’ve done this myself — messing up the first time and doing it correctly the second time — so in this guide I’ll walk you like a friend through every single step, so you don’t make the same mistakes.
Let’s change your region safely, without losing anything valuable.
Before You Change Your Apple ID Country or Region — What You MUST Do First
This part is important:
✅ Spend all Apple ID balance — even $0.05 left over will stop Apple from allowing the change.
✅ Cancel your current subscriptions — Apple Music, iCloud+, Netflix, apps etc → wait till they expire.
✅ Finish rentals, pre-orders or passes — any movie or TV season not finished will block the change.
✅ Get a payment method from the new region — your new billing address/card must match your target country (USA address if switching to USA, UK card if switching to UK, etc).
✅ Re-download anything you want to keep — some apps, songs, or movies disappear when you move to a new region.
💡 Tip: Take screenshots of your current subscriptions & apps so you remember what to restore later.
How Changing Country or Region Actually Affects Your Apple ID
| What Stays Safe | What Resets |
|---|---|
| Installed apps & files | Some apps might stop updating |
| Contacts / iCloud data | Subscriptions stop automatically |
| Apple ID login | Payment method deleted |
| Purchases | iCloud+ plan will need to be restarted |
You won’t lose your data — BUT you will need to set up subscriptions and payments again after the change.
How to Change Apple ID Country or Region on iPhone, iPad or Vision Pro
- Open Settings
- Tap your name
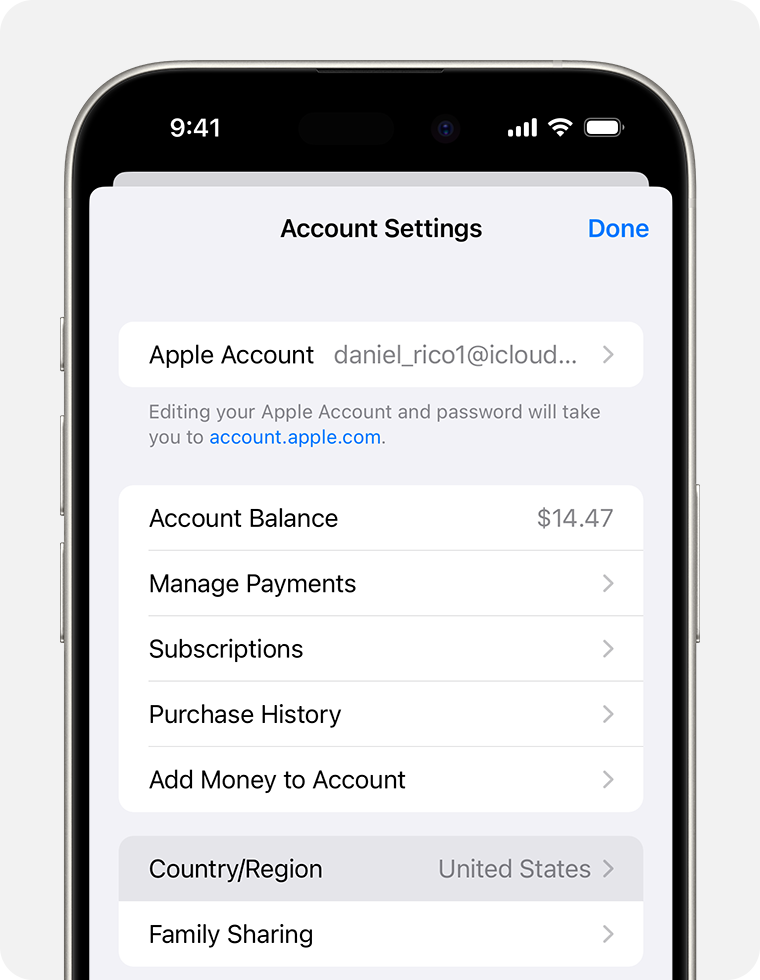
- Tap Media & Purchases → View Account
- Tap Country/Region → Change Country or Region
- Choose your new country
- Tap Agree → Agree
- Enter new billing address + payment details
- Tap Next → Done ✅
🔐 Use a real local address or Apple can reject your change.
How to Change Region Using Mac or Windows PC
On Mac:
Apple Music → Account → Account Settings → Change Country / Region
On Windows PC:
Open Apple TV/iTunes → Your Name → View Account → Change Country / Region
Then simply select the new country and add your new payment details — click Continue to complete.
Change Your Country or Region Directly Online (Browser Method)
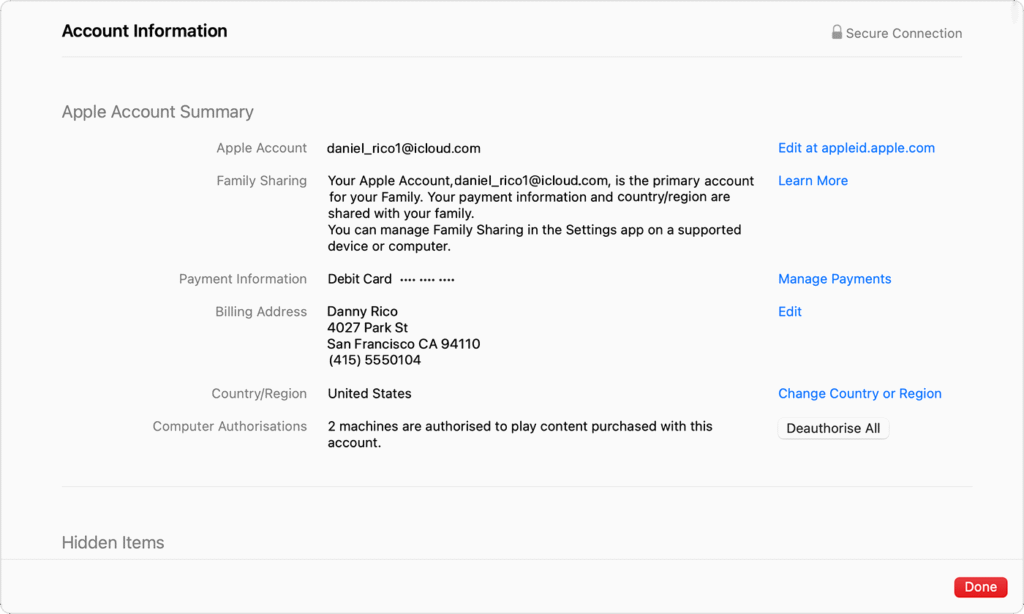
- Open https://account.apple.com
- Login → Go to Personal Information
- Click on Country/Region
- Follow instructions + add new payment details
📌 This is the easiest method if you don’t want to use apps.
Can’t Change Country or Region? Here’s Why…
- You still have unused store credit
- Subscriptions are still active
- You’re stuck in Family Sharing group
- Your card doesn’t match the new region
- Apple system hasn’t refreshed yet
👉 Solution: spend balance, leave family group, remove all payment methods, wait 24h — then try again.
Pro Bonus Tip (Most People Don’t Know)
Even after switching regions, sometimes the App Store still shows your old region’s apps — that’s because your IP address is still in the old country.
My trick: turn on a good VPN, connect to the country you switched to.
Trust me bro — when you and I use a VPN (like ProtonVPN), Apple instantly starts showing apps belonging to the new country.
Final Thoughts
Changing your Apple ID region doesn’t have to be scary — as long as you follow each step carefully and prepare in advance. Spend your balance, cancel subscriptions, have the new card ready… and you’ll make the switch without losing your apps or mind.
Hope this helped you! 😊
— Noman Khan | Digimad.online